
The scenario was the 'Flank Attack' and the patrol phase saw the British with all their jump off points (JOPs) up one end of the table where they could exploit the available cover - JOPs are denoted by the white star markers in the photo below.

The Germans, who, as the defenders in this scenario, were heavily constrained by having far fewer patrols than the British ended up with all their patrol markers in their defended corner - see below (one, not marked, is inside the church, at the back up against the middle window).

The Germans then deployed a minefield blocking the exit from the Derelict Farm (see previous post for building names) which I had been planning to use to give my tanks some cover.

In this scenario the attackers, the Brits, go first and I started by bringing on some armoured recce, a Stuart, on the road half-way down the long side of the table facing Station Row Cottages (the meaning of the yellow arrow will be explained later).

And, in close-up.

The Germans as typically for defenders did not deploy any of their forces saving them for when there were some juicy targets to engage. My intent was to threaten their JOPs with the Stuart and force them to deploy some anti-tank weapons which I could then target to make it safer for my Shermans to come on.
I then promptly forgot the plan and brought on both Shermans in my next phase; one following up behind the Stuart (the hedge by the tanks marks the edge of the battlefield but I haven't cropped it as I think it looks better left in) ...

... and the other on the road running alongside the Derelict Farm; both were placed on overwatch.

Surprisingly, this rash move didn't trigger an immediate German response, so in my next phase I deployed two infantry sections; one in the Derelict Barn and the other in the Derelict Farmhouse (a 2" mortar team was at the same time deployed in the farmyard).
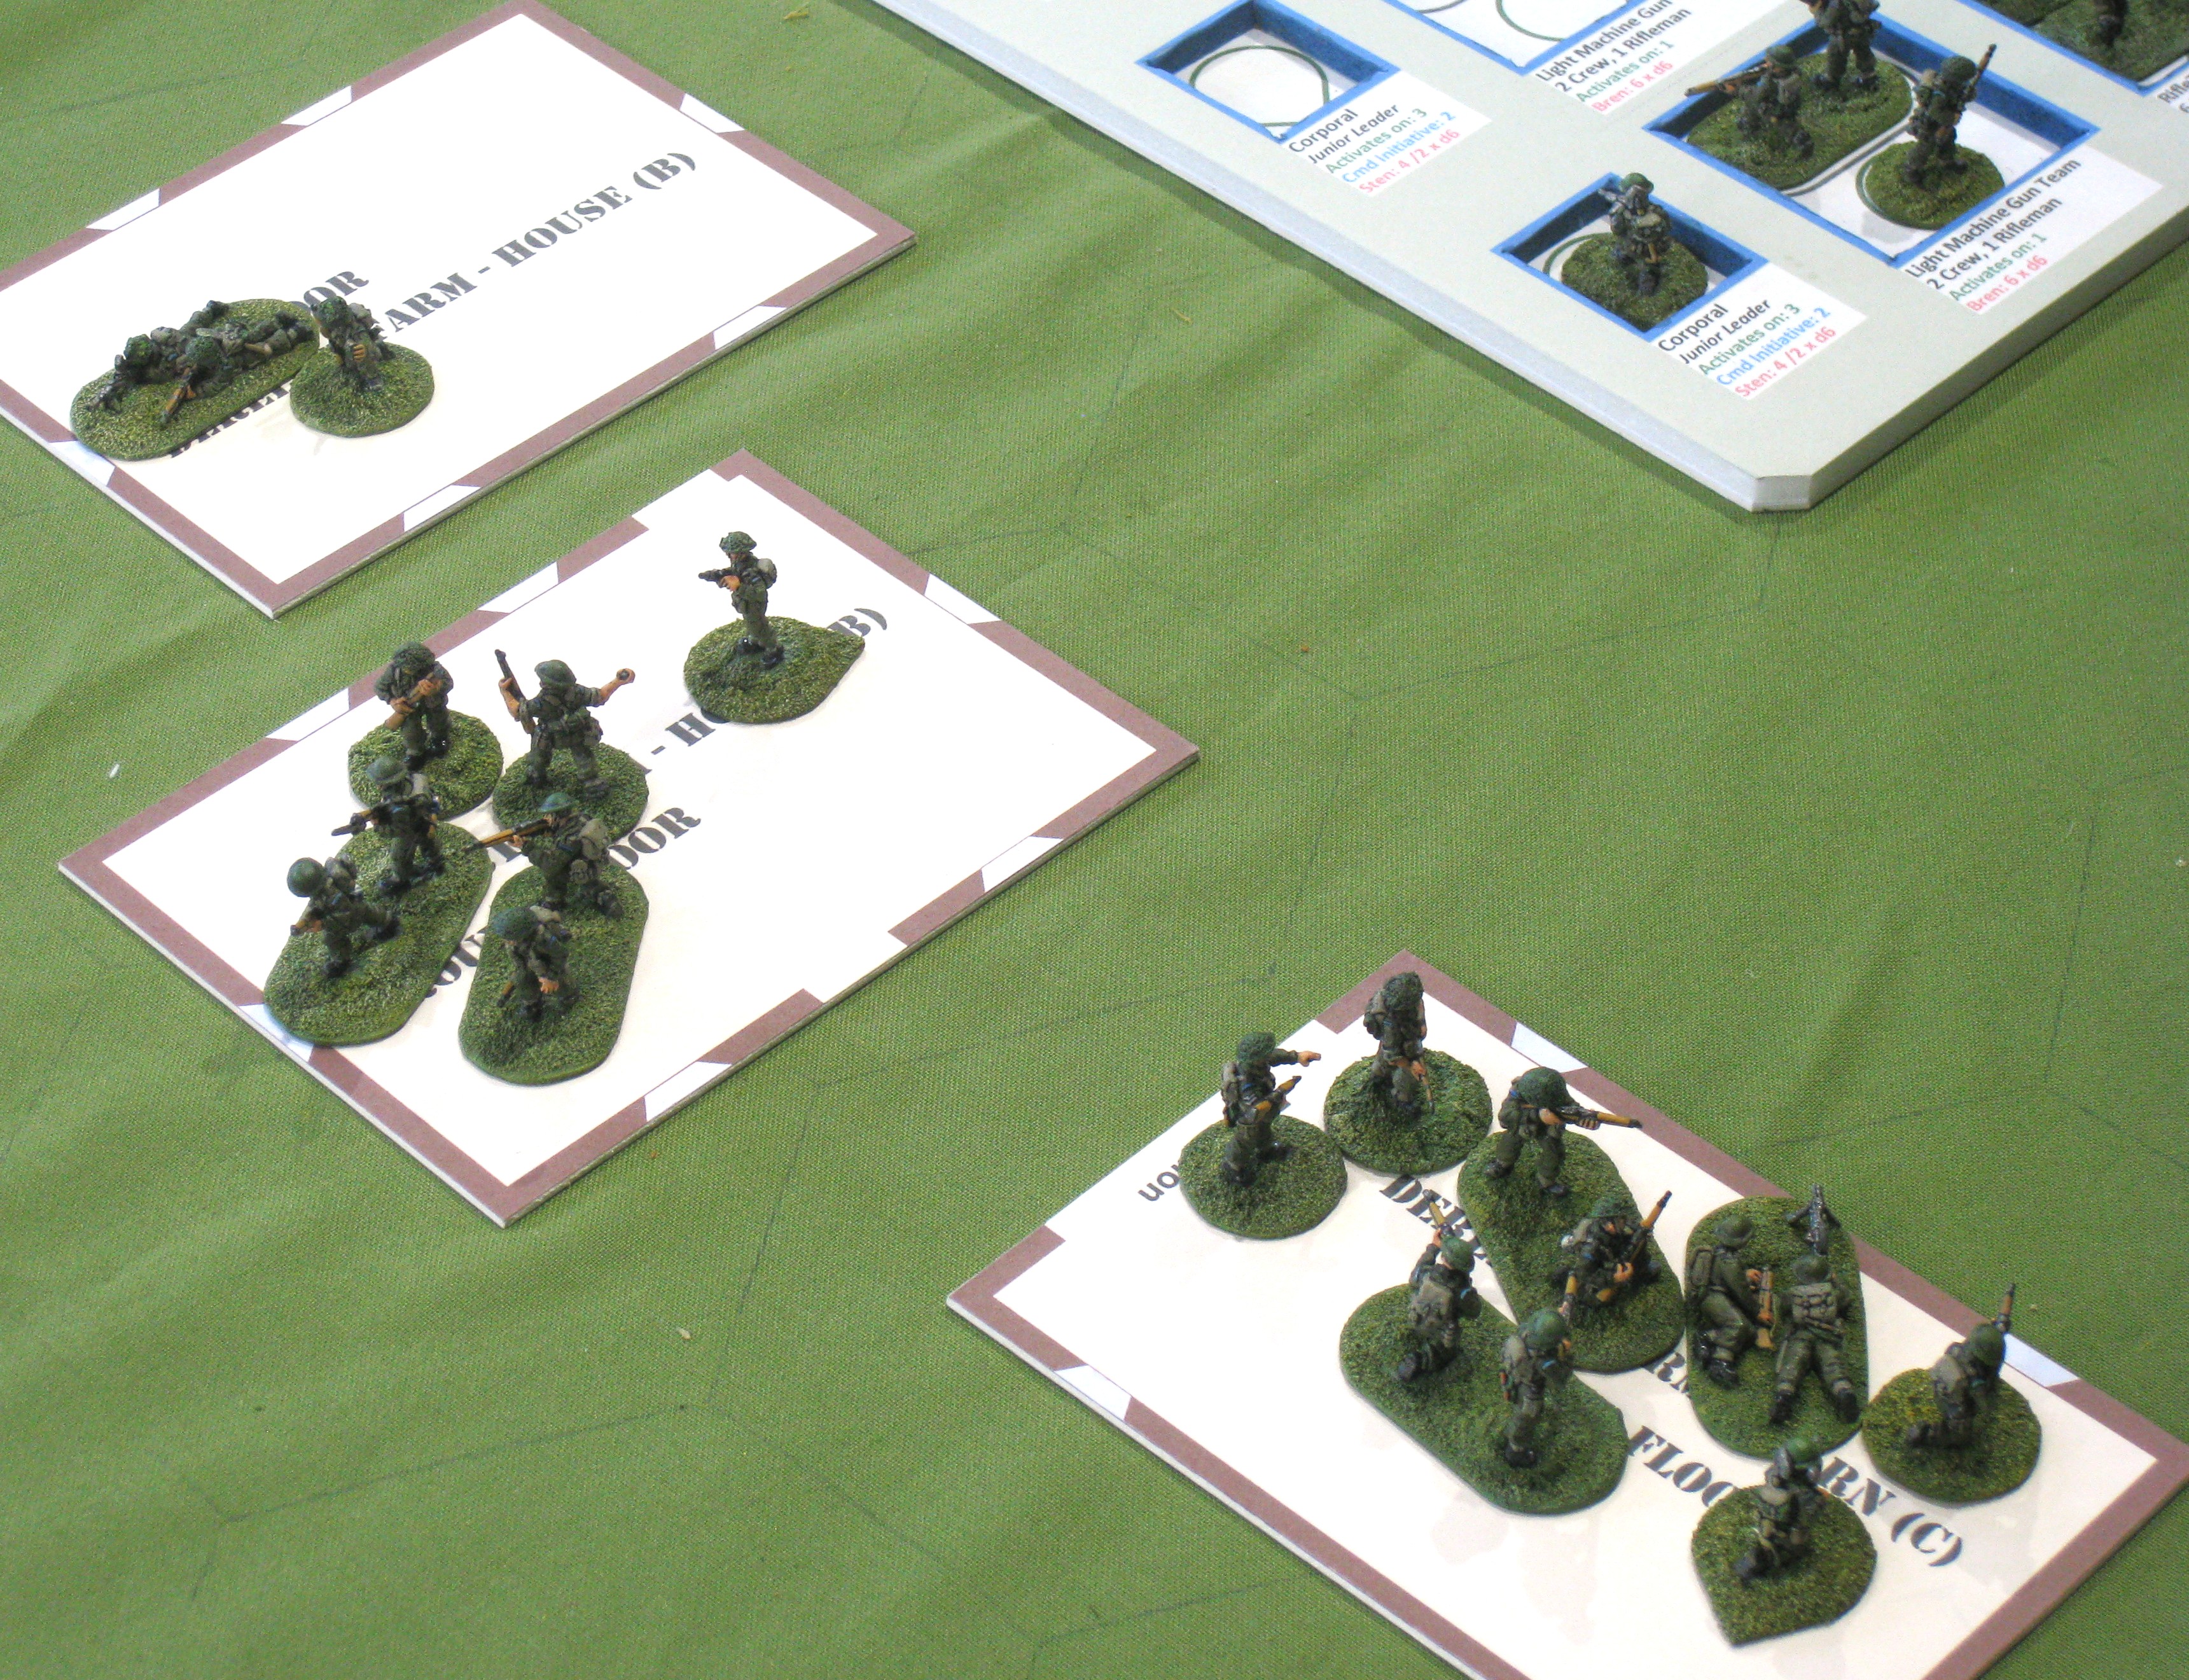
As you can see from the photo above, I don't actually put figures in buildings, but on a full-size floorplan (one for each floor) which is left off-table[3]. These troops were placed on overwatch but the markers are placed on the table next to buildings.
With all but my last section, and redundant PIAT team, committed, and with John rolling two 6's for a double phase, he decided it was time to act. First, he brought on a section round the far side of the church safely out of the line of fire of my tanks.

On a more threatening note, the first of John's two Panzerschreck teams deployed by Station Row Cottages (at the location marked by the yellow arrow in the earlier photo of the Stuart being deployed).

The Panzerschreck team were just out of the overwatch arc of the Sherman accompanying the Stuart. So, safe from any retaliation, as unlike the Shermans the Stuart wasn't on overwatch, they fired at, and hit, the Stuart. The Stuart survived, just, but suffered two shock[4] and the driver was killed (two activations being required for another crewman to take over his position).

John then rolled the command dice for his next consecutive phase and got three 6's, which meant another consecutive phase the end of the turn after this currnet phase which would mean my Shermans would come off overwatch! In this phase John, safe in the knowledge the next phase would also be his, advanced the section behind the church to threaten my exposed JOPs in the orchard. The Panzerschreck team was also able to fire again and hit the Stuart with another rocket which this time proved fatal.

In the same phase the Panzergrenadier section continued its advance against my leftmost JOP in the orchard, crossing the hedge and entering the field containing the orchard. This did expose them to my fire from my Bren team on overwatch on the first floor of the Derelict Farmhouse, which needing 6's to hit elite troops at effective range, did nothing.
In his next phase, his third consecutive phase, the Panzerschreck team fired their last rocket at the Sherman by the burning Stuart but missed! They were now out of ammunition and unless they managed to resupply from a JOP no longer posed a clear and present danger.
Also, at this time the Panzergrenadier section continued its advance towards my leftmost JOP in the orchard - sorry no photo.
At last it was my phase. I had lots to deal with but my command dice limited my options. I opted to deploy my last section, led by my platoon sergeant (senior leader), in the edge of the orchard to catch the advancing Panzergrenadiers in the open at close range. And punish them they did inflicting two kills and one shock[5].

In the next, German, phase the Panzergrenadiers opted to rally off their shock and return fire. But, thanks to some fickle dice and the light cover provided by the orchard the impressive firepower of their two MG42 teams only managed to inflict four points of shock.

The next British phase saw more punishment meted out to the Panzergrenadiers caught in the open. The senior and junior leaders, with the British section in the orchard, rallied off all the shock before they fired again, this time killing two more men and wounding the junior leader.

Also, in this phase the Sherman fired at the Panzerschreck team that had just fired their last rocket at it, but only managed to inflict two shock.

In their next phase the Germans deployed their second Panzerschreck team in an entrenchment by the churchyard.

They promptly engaged the Sherman by the Derelict Farm and hit it, but failed to knock it out. However, the hit did render the Sherman's main armament inoperative for the rest of the game; a real blow as I was relying on my tanks' H.E. capability to offset the difficulty of hitting elite troops with small-arms fire (owing to their superior ability to exploit the ground).
The Panzergrenadiers caught in the field by the orchard again elected to stick it out and persist with the firefight. And again, their hits mainly inflicted shock, albeit only three this time and with one kill.

The British content with the way the firefights were going pressed on, the infantry continuing to punish the Panzergrenadiers in the open while the tanks and other infantry sections tried to eliminate the latest Panzerschreck team that had appeared. The former was successful pinning the shrinking Panzergrenadier section, but the latter failed badly. Luckily, in the next German phase the Panzerschreck missed and the junior leader with the Panzergrenadiers was reduced to rallying off just one shock from his pinned section.

In the photo above, the smoke behind them was part of an effort by the British prevent any help for the pinned section coming from inside the church as another German section that had deployed earlier into the churchyard was not able to do so and was already taking fire.

In the next phase the second Panzerschreck team fired and missed and was, like the first team now out of ammunition. The first team had by this time reached a JOP point, but on attempting to resupply rolled a '2'; no ammunition available. However, they were close enough to have a point of shock removed by the late arriving senior leader, his other command initiative being to remove shock off the section around the front of the church.

The following British phase saw a hatful of 6's thrown to wipe out the what was left of the Panzergrenadier section in the field.

Other firing pinned the first Panzerschreck team by the JOP, and inflicted more kills and shock on the section in front of the church. In return the Germans could achieve little other removing shock.
The next British phase was the clincher, three 6's on the command dice to end the turn after the phase. This was exploited by piling some more shock on the first Panzerfaust team which was enough to break them (two or more shock per figure) and see them rout off the table at the end of turn.

The British command dice for their second consecutive phase rolled another two 6's, meaning yet a further consecutive phase after this one. At this point John acknowledged the hopelessness of his position and conceded with a view to having time to play another game again before going to the pub.
A quick post-mortem noted John's bad luck with his Panzerschrecks, but the targeting of the Stuart rather than the Sherman early in the game was a mistake. Also, the probe to threaten my JOPs with his Panzergrenadier section, while effective in forcing me to commit what troops I had left in reserve, should have been abandoned as soon as that objective was achieved. It was possible for his section to win the resulting firefight but with my men in light cover offsetting his elite advantage plus a senior leader to help rally off shock and occasional supporting fire from other British units able to engage him in the field, the odds were against him.
For the second game, we decided to swap sides and to save time play a repeat of the battle with the same JOPs.
To be continued...
Notes:
[1.] With their 5 support points the Germans opted for, an adjutant, a minefield, an entrenchment for one team, and a Panzerschreck team.
[2.] The British with their 17 support points opted for two M4 Shermans and an M5 Stuart.
[3.] My buildings don't have detachable roofs and anyway, troops in them can't really be seen.
[4.] The brown dust (shock) markers, that actually look like small brown bushes.
[5.] In this photo, there is a full section of Panzergrenadiers but one crouching figure is obscured by the hedge. As I only have a limited number of dead figures it should be noted that sometimes dead from previous phases are pinched to be used elsewhere. Hence, sometimes the number of dead and alive doesn't always add up to the starting strength of a unit.
Looks like a great game. Good stuff.
ReplyDeleteWe certainly enjoyed it, unfortunately I messed up the second game as you'll see once I get the write up posted.
Delete