After my recent attempt to refight Adwalton, I picked another lop-sided encounter for my next ECW game, this time with Iain, the Battle of Langport, 1645.
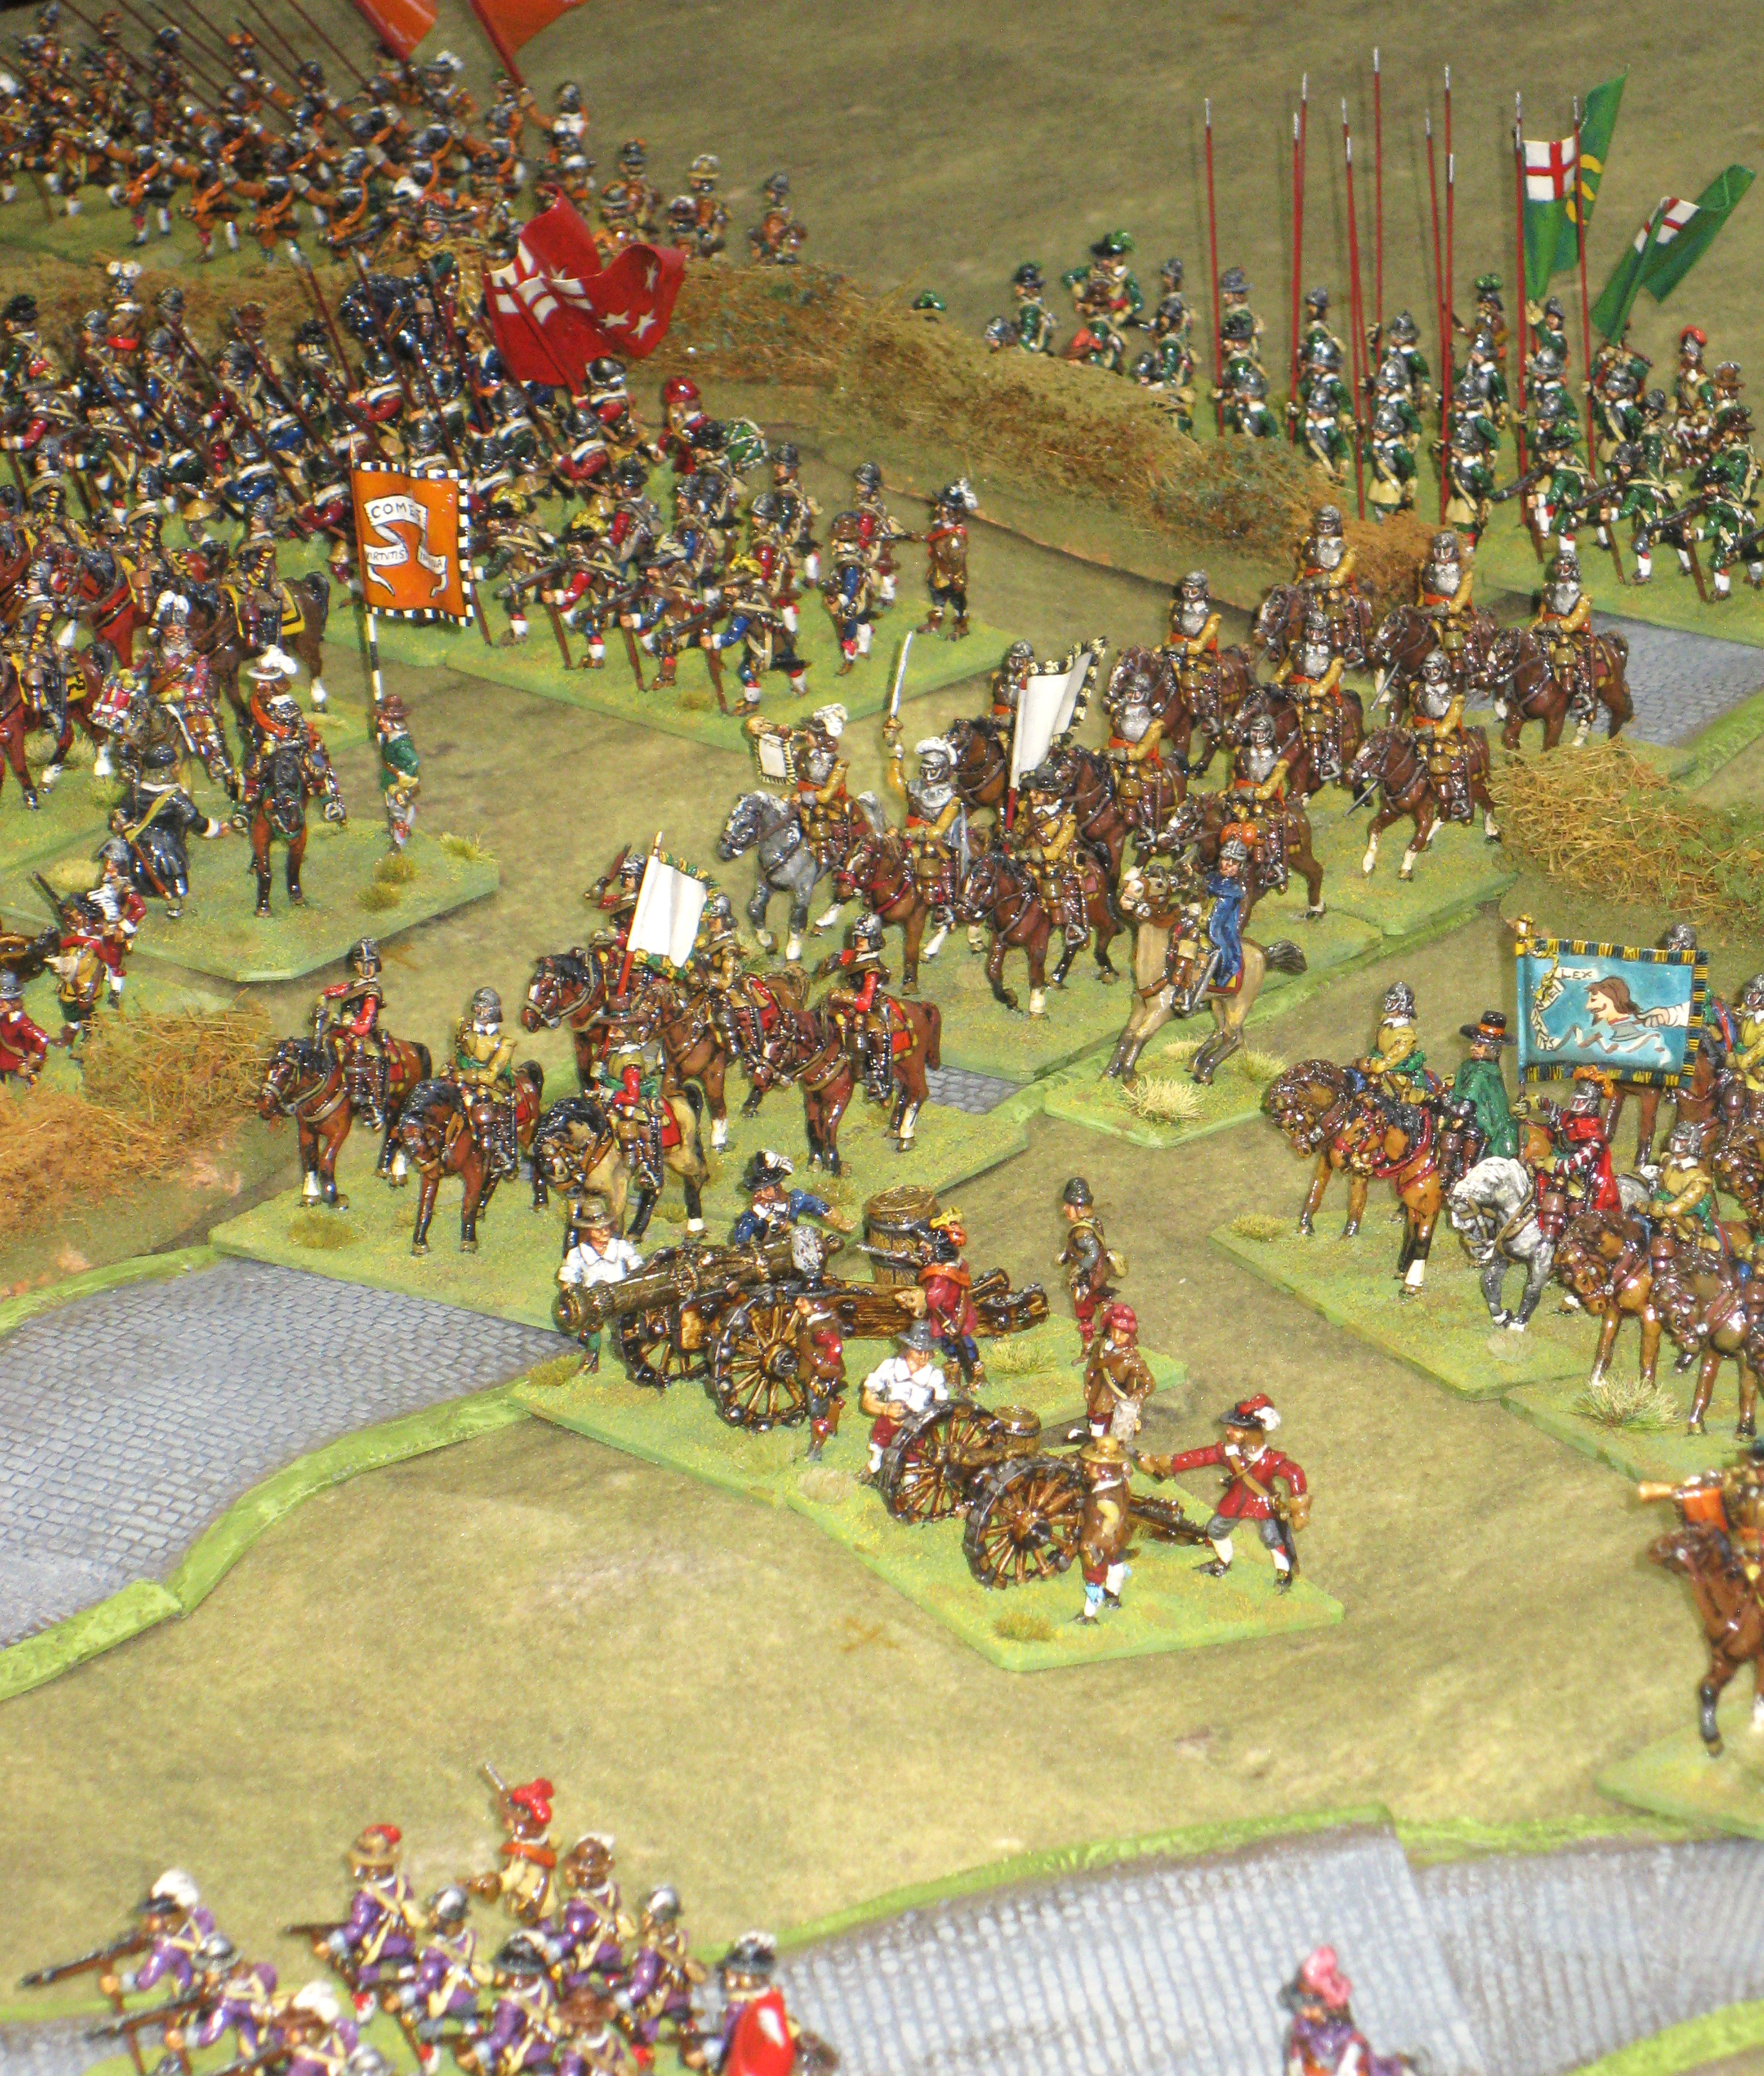
I had little about this action in any of my books, but luckily was loaned a copy of David Frampton's booklet[1]. As well as details on the forces engaged on both sides, it included an inspiring diagram of the forces as deployed, which I used as the basis for the game set up (I have not included the image here as I am unsure of the copyright implications of doing so). And as a picture is supposedly worth a thousand words, here's a picture of the deployment with some words, surely worth even more?
The units not labelled (Royalist labels are blue and Parliament are yellow) are all either regiments of pike and shot, or horse. In case anyone thinks they're seeing things, I'll point out that I don't have figures for Fairfax and Goring so Essex and Rupert are standing in for them. The odds are such, that despite the good defensive position, the Royalists will inevitably be beaten, so for this game their 'win' would be to get all their siege trayne off-table, en-route to Bridgewater. Historically, Fairfax sent a large force on a wide outflanking move around the Royalist left flank and cut off the siege trayne, although the speed with which the Royalist defence collapsed meant it was also caught from behind.
So, with both sides ready for the off, Fairfax (Iain) determined to force his way through ...
... and Goring (me) equally determined to hold the line while the siege trayne gets away - will he do better this time?
The Royalist cannon started the ball rolling opening fire at the veteran ironsides lined up to storm across the ford[2] ...
... which was returned with interest by the Parliamentarian batteries.
Surprisingly, with all this powder being expended, neither side inflicted any damage, and nor did they for some time.
Then, out of the blue, a random event generated a group of clubmen sympathetic to the King's cause who appeared alongside the Bridgewater Road.
While not a significant accretion of force for the Royalists, it used up all my clubmen (I must get more!) who were scheduled to turn up in support of Parliament once they had successfully got some units across the Rhyne - so quite a useful event for me. Even more so as it gave me a unit near the retreating siege trayne that was looking like it might get intercepted by the Iain's dragoons who had moved off at speed towards my open right flank.
Knowing that the clubmen were unlikely to make more than a speed-bump for the dragoons Wilmot turned one of his regiments of horse to counter the outflanking threat posed by the dragoons.
Meanwhile, around the ford, the artillery continued to thunder away without effect as Parliamentarian commanded shot advanced into the marshy ground and started a firefight with the Welsh foot on the far bank.
Parliament's dragoons continued their outflanking manoeuvre, and more horse followed in their wake to keep my right flank under pressure.At the same time the persistence of their gunnery finally paid off ...... and finally eliminated the cannon guarding the ford.
With ford unguarded, veteran Parliamentarian horse moved up ready for a coup de main against the Royalist position.Then as the dragoons reached the Rhyne ...The Royalist commanded shot across the Rhyne were surprised by the ironsides executing a sharp right turn to charge them in the flank! I really hadn't seen this coming, albeit the random turn sequence hadn't provided me with any opportunity to do anything about if I had. Luckily, while taking a beating, the commanded shot held firm, and the horse withdrew to reform and try again.I seem to have a dearth of photos around this point in the battle which saw the dragoons continue their flank march while the Royalist cavalry redeployed to stop them were could olny watch thanks to the fickle card-driven move sequence. Also, with Parliamentarian horse advancing against my right flank this cavalry unit couldn't now be spared to chase after the dragoons, so Maurice took personal command of one of his cavalry units and set off to try and get to the siege trayne before the dragoons could do too much damage.
The threat to my siege trayne was compounded by their very slow progress. This sluggishness had become so questionable that a quick review of the play-deck was called for and revealed only one card allowing them to move[3], when there should have been two - another was quickly shuffled in. OOPS!
Back at the ford, and against the odds, the raw Welsh foot, despite its losses[4], had finally won the firefight, destroying the opposing commanded shot; the remnants of which can be seen fleeing in the photo below.
This good news was offset by Parliament's dragoons routing the clubmen, who were trying to shield the siege trayne, and then destroying them in the ensuing pursuit.Maurice was getting closer but looked unlikely to prevent the dragoons getting in amongst the waggons.And so it proved, as the dragoons promptly got stuck in, eliminating one element and then stopping to loot a second.Things were looking little better to my front as another regiment of horse drove my commanded shot by the ford back across the Rhyne.
It was at this point in the battle that Goring roused himself from a drunken stupor. In reality it was our realisation that neither of us recalled having seen his card drawn from the play-deck, and another quick check showed that his card had also been omitted by mistake. His card, actually Rupert's as I lack a card for Goring, was quickly shuffled into the deck. DOUBLE OOPS!!As Fairfax's horse pressed forward, they reopened a field of fire for his artillery, or at least those that hadn't run short of powder owing to a random event, to engage the Royalist horse ready counter-attack any break-in.
And this time they seemed to get their eye in from the very beginning.
While one of Maurice's regiments of horse was having to sit and suffer an artillery bombardment, he, with his other regiment finally caught the dragoons as they were looting an element of the siege trayne.
Needless to say, the dragoons were soundly thrashed and ridden down in a ferocious pursuit. Unfortunately, but unsurprisingly, Maurice and his men continued pursuing off into the wide blue yonder (off-table) and despite several attempts (dice throws) during the game never returned to the field of battle.
Although my siege trayne was now safe for a bit, elsewhere things were coming unstuck as more horse charged across the ford and broke a regiment of foot.
While yet more, over on my right flank, crossed the hedge and charged my cavalry waiting for them on the other side. Although my men managed to counter-charge they were badly routed, with three consecutive retreat moves (circa. 40-45") meaning they left the table in disgrace.
A little light now appeared through the gloom as my siege trayne got moving again, my prized giant mortar managing to exit the table, ...
... my broken foot regiment by the ford managed to rally and hold off another charge by Parliamentarian horse ...
... and my commanded shot, safely ensconced behind a hedge on my right, held off yet another.
However, what was left of the siege trayne on the table was now threatened from behind by Fairfax's horse that had broken through on my right and in front by another group of clubmen, this time with Parliamentarian sympathies.
So, with dinner beckoning, the Royalist siege trayne doomed, and more Parliamentarian units lining up to break what was left of Goring's forces the game was called. A win for Fairfax.
In retrospect I think more of the Royalist forces should have been rated as raw to represent their demoralised state as the war was clearly unwinnable at this time. While this might make Fairfax's task easier, getting the correct cards in the play-deck would have seen the siege trayne move a bit faster and Goring better able to move troops to counter any outflanking move.
Anyway, the key thing was we both thoroughly enjoyed the game, and in the end that's what counts.
Notes:
[1.] 'The Battle of Langport - the 350th Anniversary' by David Frampton, An Academic Artizan Publication.
[2.] The Wagg Rhyne was ruled to be fordable everywhere so the actual ford had no significance other than it was unobstructed by marsh and/or hedge.
[3.] When turned up, each element of the siege trayne threw one average die (2dAv), the score indicating the number of inches it would move. With no overtaking allowed, if the front wagon rolled a '2' then no-one was going to go any faster than that, and gaps would open up as those towards the rear threw less than those in front.
[4.] Losses are indicated by red makers (tiddlywinks), units being destroyed when they have taken as many losses as they have bases. These can be rallied off by commanders if they expend their orders to do so, and roll a 'Flag' on the dice, a 1-in-6 chance so rarely worth trying. Green markers indicate disorder, which affect a unit's combat ability but can be recovered more easily. Yellow markers indicate a unit has been activated so cannot be activated again in the current turn.